
If you’ve been following me for a bit then you know I’m obsessed with the Ninja Creami! I got it last November for my birthday and can say it was one of the best gifts. I use it in so many different ways. I will say, while I like smoothie bowls year-round, having this made the perfect summer treat for my family that had ingredients that I can stand behind. I am going to share 13 easy Ninja Creami Recipes with you that my whole family has loved!
*Affiliate Disclosure: I do have affiliate links in this blog post. If you purchase something from my link, I will receive a small commission from the sale. This comes at no cost to you, but is paid by the company. I do not take becoming an affiliate with any company lightly. If I am, it’s because I believe in the company and their product.
Suzi (Gurl Gone Green) is a participant in the Amazon Services LLC Associates Program, an affiliate advertising program designed to provide a means for sites to earn advertising fees by advertising and linking to amazon.com.
What is the Ninja Creami?
The Ninja Creami is a 7 in 1 Ice Cream Maker (this is what I have – there is an 11 in 1 model too). With this one machine you can make ice cream, sorbet, gelato, milkshake, smoothie bowl, lite ice cream, and mix-in at the touch of a button. This machine allows you to use minimal effort yet still provide your family with a healthy frozen treat!
Related Content: Ninja vs Nutribullet – Which blender is better here!
How much does the Ninja Creami cost?
When you purchase your Ninja Creami, it will come with everything you need to get started. This includes:
- Motor Base with Dual-Drive Motors and Ninja’s Creamify Technology
- Creamerizer (these are the paddles that will turn your frozen base into a creamy treat)
- (2) 16 oz. Creami Pints (including lids)
- Outer bowl and lid (where the pint will go while using your Ninja Creami)
Depending on where your purchase your Ninja Creami, price can vary. On the actual Ninja Kitchen website the current price is $199. On Amazon, you can get it for $179. But it also looks like what comes with it can vary, so just be aware of what is listed.
For an additional cost, you can always purchase more pint containers or even a Ninja Creami Cookbook. But, the great thing is that I have already vetted 13 healthy Ninja Creami Recipes. Not only do the ingredients pass any mom’s test, but my kids loved them all – win-win!
How do I use the Ninja Creami?
Using the Ninja Creami is a simple 3 step process.
1) Prep your solid bases (may just be 1 or multiple if you are making many)
2) Freeze it over night in the pint jars
3) Process in the Ninja Creami
The 2 ways I like to use my Ninja Creami the most includes both smoothie bowls and homemade ice cream!
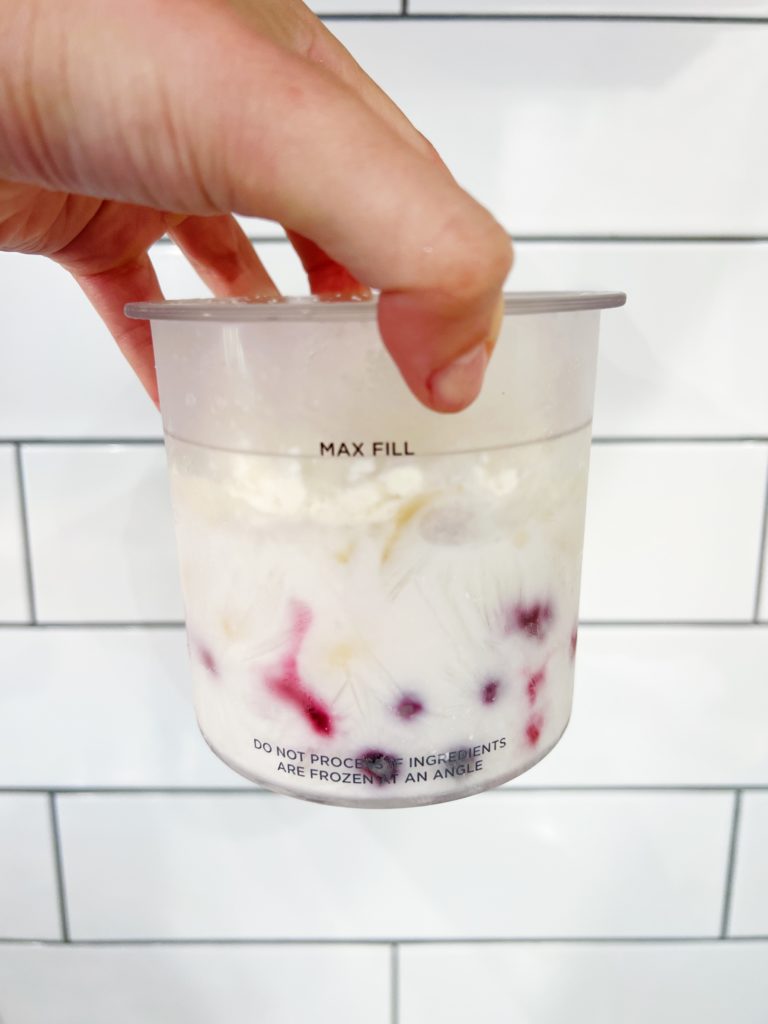
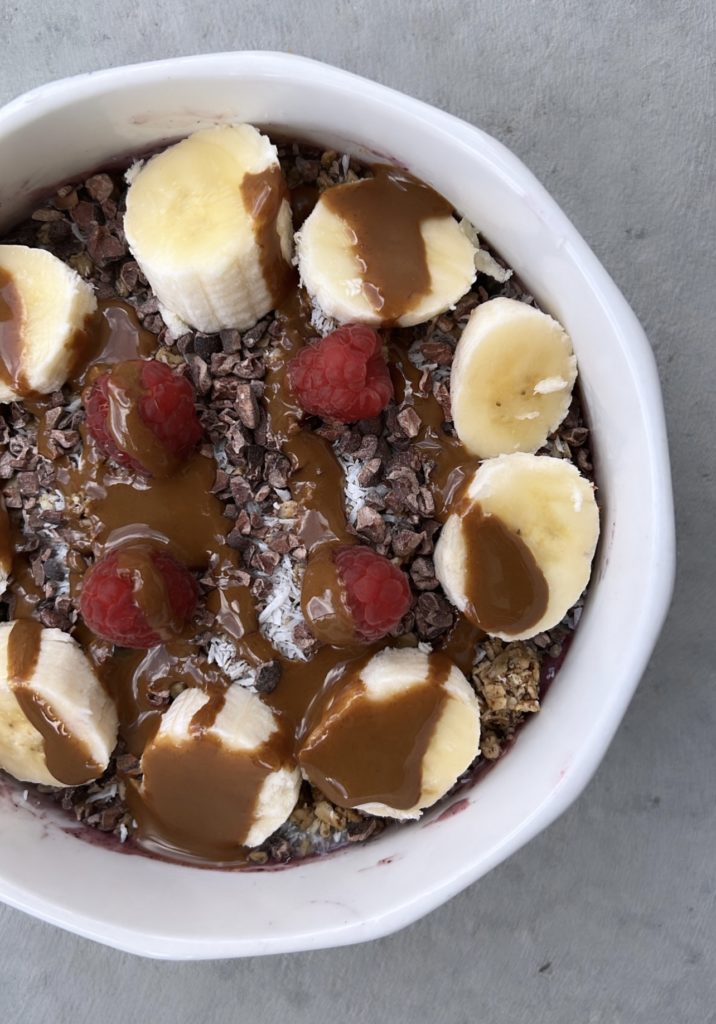
Smoothie Bowls- I use it for smoothie bowls all the time. In the summer we pretty much had a smoothie bowl a day. Not only did it taste amazing but the cool smoothie bowls felt so good after being out in the sun. I love my smoothies but smoothie bowls from the Ninja Creami take them to the next level! Instead of having the consistency thinner, it’s so thick when I make a smoothie bowl in the Ninja Creami. I just add all the ingredients to the smoothie pint jar and stick it in the freezer. If I’m adding veggies like spinach, or celery to my smoothie bowl, I’ll blend up the contents and then pour it into the Ninja Creami container. Once it’s blended up in the Ninja Creami it’s the creamiest, thickest consistency that you can eat with a spoon. We love topping our smoothie bowls with cacao nibs, nut butters, shredded coconut, hemp seeds, and berries. You can mix up the smoothie bowl flavors and add any frozen fruit you like, a milk of your choice, and protein powder and you have yourself a smoothie bowl. So easy, nutrient-dense and delicious!
Homemade Ice Cream- It’s so fun to be able to make different flavors of ice cream with the Ninja Creami. Since you can make several different pints at once it really is convenient when wanting different flavors. As opposed to a traditional ice cream maker where you can only make one flavor at a time. With the Ninja Creami you can make a vanilla ice cream, but also a chocolate too. Great for those with allergies who might not be able to enjoy store bought ice cream. This gives you a way to totally customize your flavors but not have a whole ½ gallon of a particular flavor. Plus, you can make so many flavors healthier! I will blend up some basic ingredients – typically full fat coconut milk with frozen fruit – and give it to my kids after dinner and they love it! A frozen sweet treat that I don’t feel guilty about one bit. It gives fruit that frozen yogurt consistency that’s so good. This is a great way to make creamy ice cream that is dairy free and not like ice, like so many versions you make online.
Related Content: Best Fair Trade Chocolate Brands
Tips For Using The Ninja Creami
- Let it freeze for at least 12 hours- The manual says 24 hours to freeze the ingredients but I’ve noticed if I freeze them for at least 12 hours, it’s enough for smoothie bowls. Ice cream you want to freeze a little longer but smoothie bowls will still get that frozen yogurt-like texture within 12 hours.
- Add some milk if it gets powdery and re-spin- If you run it through a cycle and you notice the pint is powdery on top, just add some liquid to it. If I’m making a coconut milk ice cream I’ll add some coconut milk, if it’s dairy ice cream I’ll add some whole milk. Then push the re-spin button on it afterwards. This will make it creamy and smooth and not powdery.
- Blend ingredients before adding to pint container- If you want your creations to be extra smooth and not take as long to make smooth, run them through your blender before adding them to the Ninja Creami machine. This helps to get them smooth and creamy a lot quicker. If you don’t they will still get smooth but will take a few more cycles and you’ll have some frozen residue on the sides of the pint container.
- Don’t throw it away- If you don’t eat all of your Ninja Creami pint, don’t sweat it. Just pop the lid on and then pull it out another time and push the re-spin button. This makes it creamy all over again. I love this feature so much! It really avoids wasting pints. Before the Ninja Creami I would make dairy free ice cream recipes and when I saved the leftovers they would get hard as a rock and not creamy anymore. Now, I can get the creamy texture again just by re-spinning! If you find it’s powdery after re-spinning, add some liquid to it.
- Experiment- I’ve learned so much just from using my Ninja Creami and trying different recipes all the time. Don’t be afraid to mess up! You really can’t with it. Try new flavors and have fun.
- Make sure pint is on a level surface in freezer- You want to make sure your pint is on a level surface when you freeze it, otherwise it can not process correctly when you put it through a cycle.
- Clean properly- Make sure and clean the bowl and blade properly after each use. I unlock the blade, rinse and then rinse the lid and clean with tiny straw cleaners in the lid holes. Then you want to wipe the blade inserted in the Ninja Creami containers each time as well.
- Making Blizzards- If you want to make a blizzard like treat, just make a well in the center of your creami pint after having it go through one cycle and then add in your mix ins. Then hit the Mix-In button on the Ninja Creami.
13 Best Ninja Creami Recipes
After almost a year of experimenting and trying different recipes, I am sharing my 13 favorites that are not only healthy, but tasty too! They are made from simple ingredients and once you have used your Ninja Creami a few times you will see they truly are easy recipes.
Peanut Butter Banana Ice Cream
Is there anything better than peanut butter and banana? Well, maybe peanut butter and chocolate! This is a creamy dessert that tastes so good. We love using A2 milk and not conventional dairy for added health benefits.
Ingredients
2 TBS. Peanut Butter
1 Cup Whole Milk
¾ Cup Heavy Cream
1 tsp. Vanilla
½ Banana
¼ Cup Maple Syrup
*Put all ingredients into blender and blend up in blender first, then pour into pint container. Once frozen for 24 hours, run it through the Lite Ice Cream cycle until the desired consistency is reached. We also have added in some peanut butter for extra PB goodness as a mix in once we had it go through the lite ice cream cycle once.
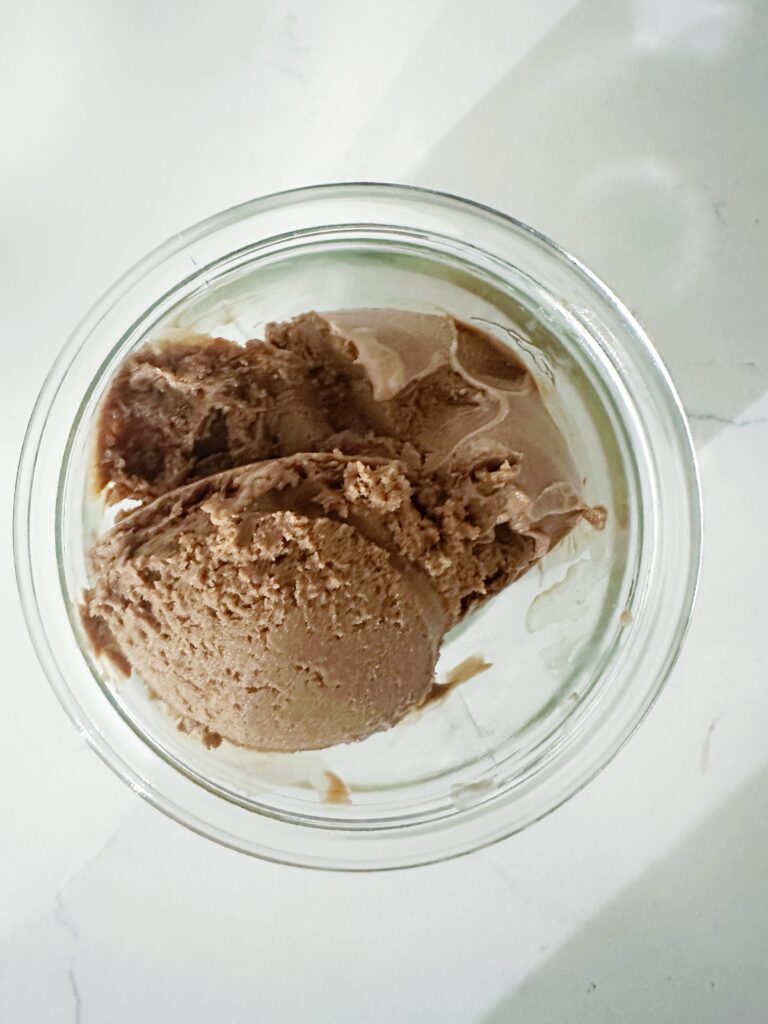
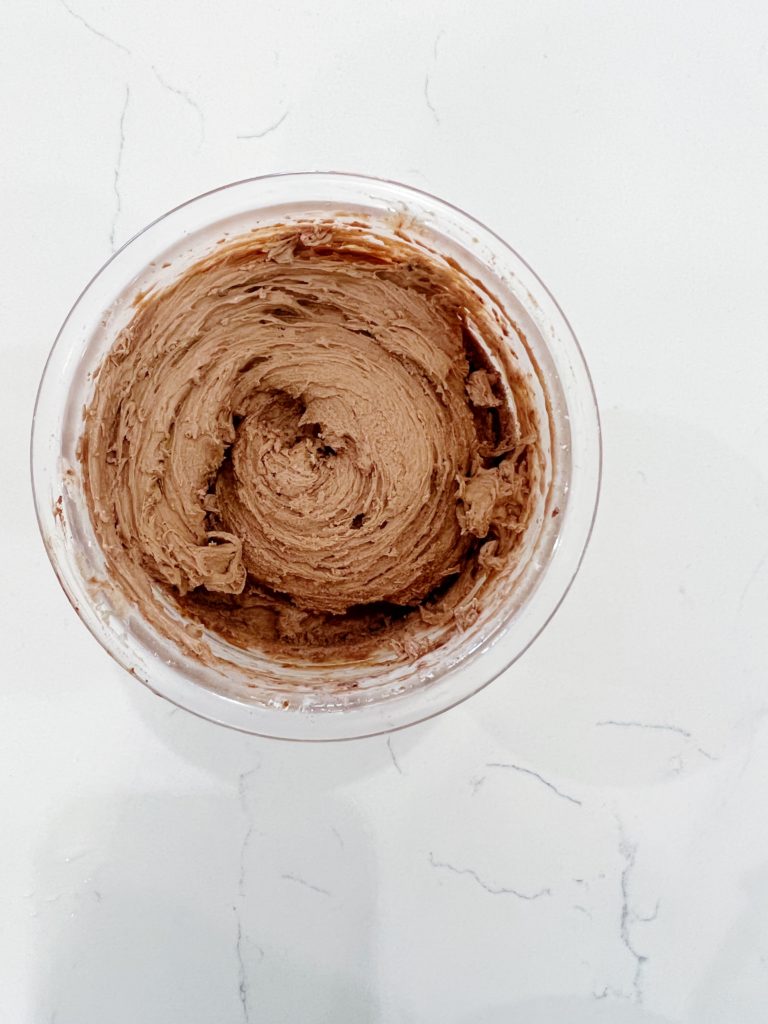
Coffee Coconut Ice Cream
Ok, have you ever had a Jamocha Shake from Arby’s? We used to get these back in the day before we knew anything about health. Well, let’s just say I’ve re-created it with this Coffee Coconut Ice Cream! It’s more the consistency of a shake when you let it run through several cycles and tastes just like it but without the crazy sugar or dairy load.
Ingredients
¾ Cup Full Fat Coconut Milk(from a can we use Costco’s Organic Thai Kitchen Coconut)
1 Cup Hemp Milk
1 tsp. Vanilla
2 Mt. Hagen Organic Decaf Instant Coffee Packets
¼ Cup + 1 TBLS. Maple Syrup
*Put all ingredients into bowl and mix with whisk, then pour into pint container. Once frozen for 24 hours, run it through the Lite Ice Cream cycle until you reach smooth and creamy consistency.
Chocolate Avocado
**Can be made dairy free**
This is the recipe when you want a treat, but want it to be extra healthy! Made with avocado for an extra creamy flavor but with no refined sugar. I love that it hits my sweet craving, but has all the clean ingredients!
Ingredients
1 cup whole milk (can use full fat coconut milk)
1 avocado
1/4 cup cacao powder
1/3 cup maple syrup
Cherry Almond Coconut Ice Cream
All the kids really loved this one, even my nieces!
Ingredients
1 Cup Full Fat Coconut Milk (from a can we use Costco’s Organic Thai Kitchen Coconut)
1 ¼ Cup Frozen Cherries
1 tsp. Almond Extract
*Add ingredients to a blender, blend and then pour into pint container. Once frozen, use the Lite Ice Cream cycle button.
Pumpkin Coconut Ice Cream
Perfect for fall or whenever you’re craving the fall flavors. It reminded me of a pumpkin Blizzard from Dairy Queen that I would get back in the day but of course so healthy!
Ingredients
1 ¼ Cup Full Fat Coconut Milk(from a can we use Costco’s Organic Thai Kitchen Coconut)
1 tsp. Vanilla Extract
½ Cup Pumpkin Puree
1 ½ tsp. Pumpkin Spice
¼ Cup Maple Syrup
*Whisk all ingredients in a bowl, then pour into pint. Freeze for 24 hours and then run it on the Lite Ice Cream button.
Chocolate Banana Smoothie Bowl
This is one of our favorites for a smoothie bowl during lunchtime.
Ingredients
1 Cup Full Fat Coconut Milk(from a can we use Costco’s Organic Thai Kitchen Coconut Milk)
2 TBS. Cacao Powder
1 TBS. Chia Seeds
1 ½ Bananas
2 Scoops of Protein Powder (I use Activ Goat Whey Protein. Use code gurlgonegreen to save 15%. You can use any protein powder you like. Just keep in mind the protein powder adds some creaminess and flavor. So if you have a flavorless protein powder know that it might not taste the same)
*Blend all ingredients in a blender, then add to pint container. You can also add all the ingredients to a pint and just chop up the banana, but I’ve found it takes a little longer to get creamy this way. Plus, I prefer the chia seeds to be ground up. Let it freeze for at least 12 hours. Then hit the Smoothie Bowl button. If it gets powdery just hit the re-spin button again to make it smooth.
Check out my full post here on why Active Goat Whey Protein is my favorite protein powder!
Berry Banana Smoothie Bowl
This is a staple in our house. We love adding the organic frozen berry mix from Costco to the bowl. So many great nutrients in one bowl and always a hit with everyone!
Ingredients
1 Cup Full Fat Coconut Milk(from a can we use Costco’s Organic Thai Kitchen Coconut Milk)
1 TBS. Chia Seeds
1 Banana
1 Cup Mixed Berries
2 Scoops Activ Whey Protein Powder (I use Activ Goat Whey Protein. Use code gurlgonegreen to save 15%. You can use any protein powder you like. Just keep in mind the protein powder adds some creaminess and flavor. So if you have a flavorless protein powder know that it might not taste the same)
*Blend all ingredients in a blender, then add to pint container. You can also add all the ingredients to a pint and just chop up the banana, but I’ve found it takes a little longer to get creamy this way. Plus, I prefer the chia seeds to be ground up. Let it freeze for at least 12 hours. Then hit the Smoothie Bowl button. If it gets powdery just hit the re-spin button again to make it smooth.
Coconut Chocolate Gelato
I was on a mission to make a dairy free coconut ice cream that really was so creamy and I nailed it! The key is to make it like a gelato. Takes a bit more time because you have to cook the eggs over the stove, but so worth it!
Ingredients
⅓ Cup Maple Syrup
1 ¾ Cup Full Fat Coconut Milk (from a can we use Costco’s Organic Thai Kitchen Coconut Milk)
4 Egg Yolks
2 TBS. Cacao Powder
*Add all the ingredients to a saucepan and heat until the temperature reaches 165-175 stirring constantly. Then pour the mixture through a fine mesh strainer and into a separate bowl that is submerged in ice and put in fridge for an hour until the mixture cools. Then pour into pint and freeze for 24 hours. Once frozen, push the Lite Ice Cream button and run it through the cycle
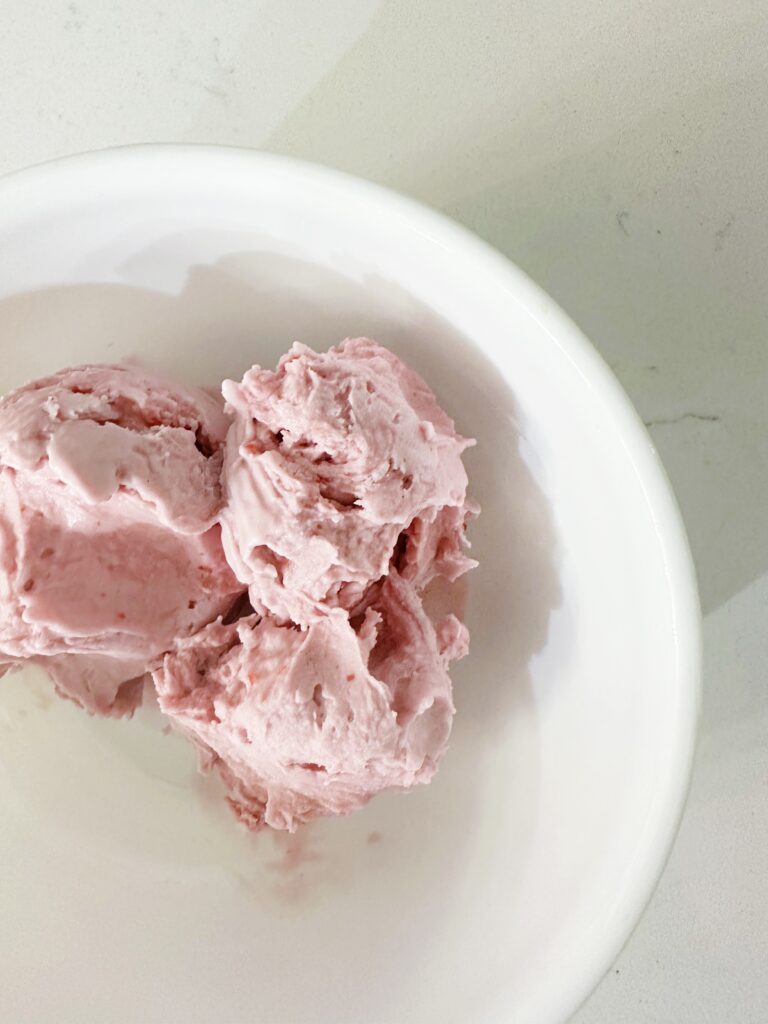
Strawberry Cheesecake Protein
**Dairy Free**
This one is SO good! It has everyone in my family wanting more. It reminds me of strawberry cheesecake blizzards I would get back in the day when I didn’t know any better. 🙂 But it doesn’t have any dairy and is full of clean ingredients! You could even add some gluten free graham crackers to kick it up a notch!
Ingredients
1 cup full fat coconut milk
3/4 cup frozen strawberries
1/4 cup kite hill cream cheese
1/8 cup maple syrup
2 scoops vanilla protein powder (I use Activ Goat Whey Protein. Use code gurlgonegreen to save 15%)
Mix in: after you blend it up in the Ninja Creami Machine, dig a well in the center of the pint and add a large heaping spoon of strawberry jam. Then hit the mix in button to blend it up. This really takes the ice cream over the edge and makes it extra delicious! We use my mom’s homemade strawberry jam.
Mint Chocolate Chip Ice Cream
If you’re a mint lover like I am then you need to make this! You can use mint extract too if you don’t want to go through the extra steps of using fresh mint.
Ingredients
1 Cup Whole Milk
¾ Cup Heavy Cream
A Handful Of Fresh Mint
⅓ a Cup of Maple Syrup + 1 tsp. Of Maple Syrup For Mint Extraction
Handful Of Dark Chocolate Chips
*Extract the mint from the mint leaves by using a Muddler and the 1 tsp. Of maple syrup in a large mason jar. Muddle until a liquid forms. Then add in the whole milk, heavy cream and maple syrup. Shake vigorously. Then pour the liquid through a fine mesh strainer into the pint container. Freeze for 24 hours. Push the Ice Cream Button and run it through the cycle once. Then make a well in the middle of the pint and add the chocolate chips after and hit the Mix-In button.
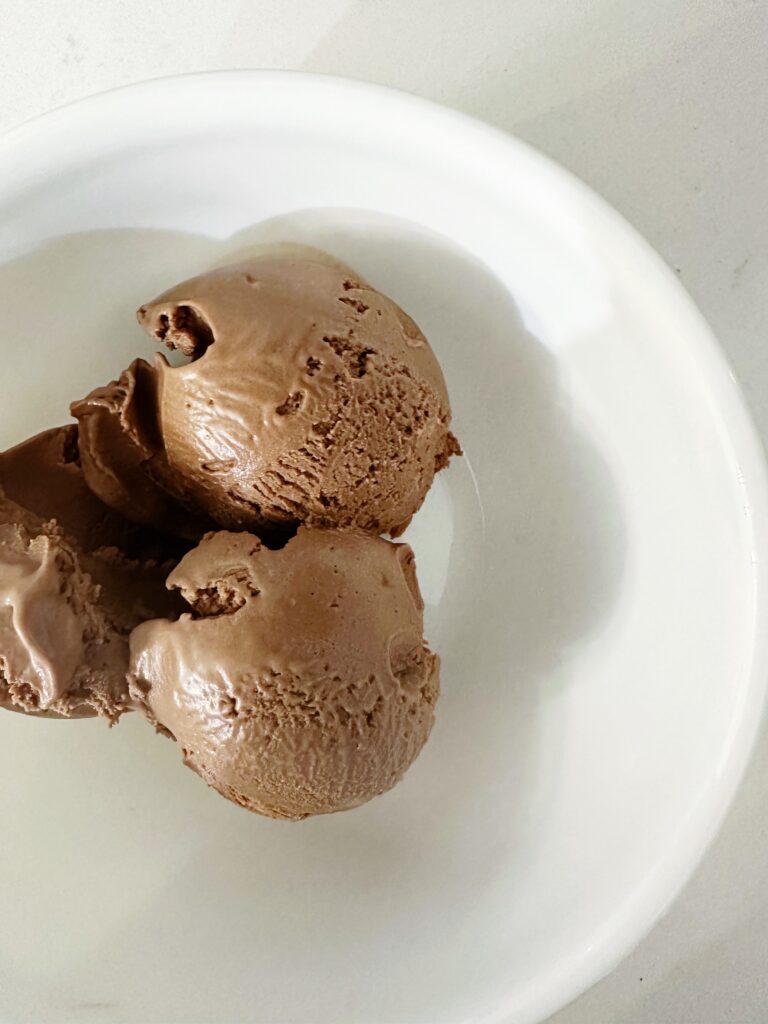
Peanut Butter Chocolate Protein
This is when you’re craving peanut butter and chocolate ice cream, but also want lots of protein. It’s so creamy and delicious, yet full of good for you ingredients! My kids loved this flavor too and I loved that they were getting lots of healthy fats and loads of protein. It reminds me of a peanut butter fudge bar…SO good!
Ingredients
1 cup Greek yogurt( we use Kirkland Brand Organic Nonfat Greek Yogurt from Costco)
1/4 cup cacao powder
1/4 cup honey
1/4 cup peanut butter
1 tsp vanilla
1/2 cup full fat coconut milk
Mango Pineapple Smoothie Bowl
This is one of my kid’s faves! They love the tropical vibes this smoothie bowl gives.
Ingredients
1/2 Cup Hemp Milk
¾ Cup Full Fat Coconut Milk(from a can we use Costco’s Organic Thai Kitchen Coconut
1 Cup Pineapple Chunks
¾ Cup Mango Chunks
1 tsp. Vanilla Extact
1 TBS. Chia Seeds
2 Scoops Activ Whey Protein Powder(I use Activ Goat Whey Protein. Use code gurlgonegreen to save 15%. Just keep in mind the protein powder adds some creaminess and flavor. So if you have a flavorless protein powder know that it might not taste the same)
*Blend all the ingredients together in a blender and pour into pint container. Then freeze for at least 12 hours. Take out and run it through the Smoothie Bowl Cycle. If powdery, re-spin or add a little liquid and then re-spin.
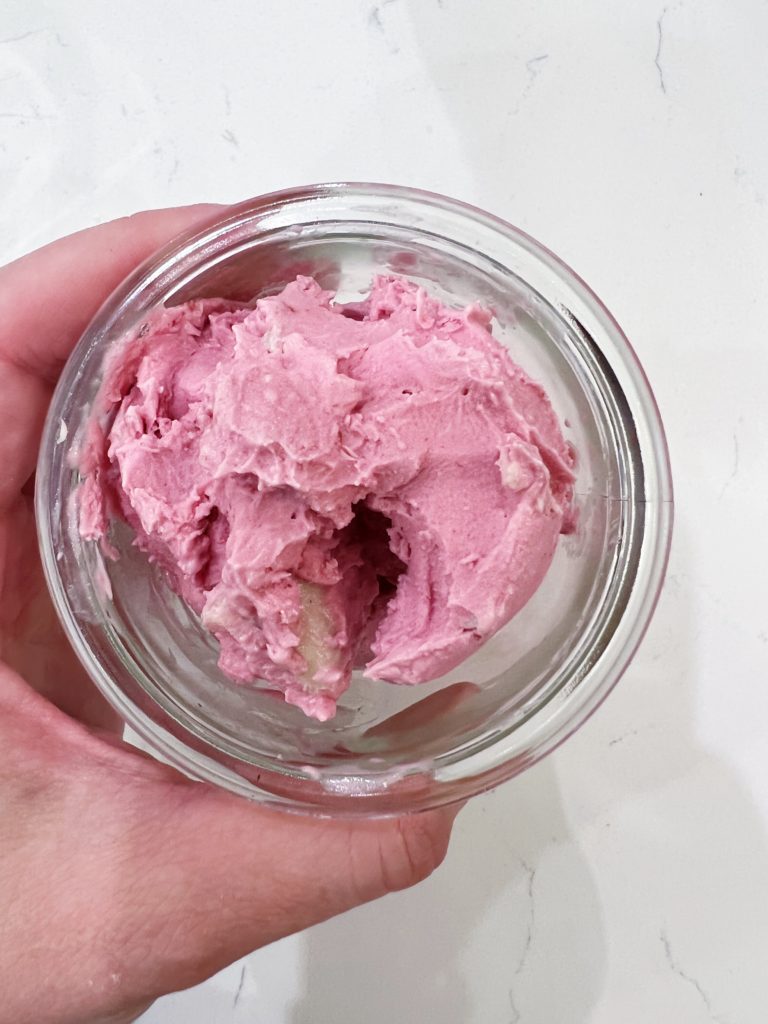
White Chocolate Raspberry Coconut Ice Cream
We all love this one! Definitely one of our faves. We use organic raspberries and Eating Evolved KETO White Chocolate, so no funky weird ingredients from the white chocolate.
Ingredients
1 Cup Full Fat Coconut Milk(from a can we use Costco’s Organic Thai Kitchen Coconut)
1 Cup Raspberries
⅓ Cup of Maple Syrup
1 tsp. Vanilla Extract
⅛ Cup of Cacao Butter Melted
½ Of An Eating Evolved KETO White Chocolate Bar Cut Into Pieces
*Blend all ingredients together, except the KETO White Chocolate Bar and then pour in pint. Freeze for 24 hours, then run it through the Lite Ice Cream cycle once. After it’s gone through once, make a well in the middle and add in the KETO White Chocolate Bar pieces and hit the Mix-In button.
And there are my favorite Ninja Creami Recipes! If you have a favorite, share it below in the comments.
If you liked this post, check out these past posts:


Thank you for creating true healthy recipes for this! Others I’ve seen aren’t quite what I would classify as healthy.
Hi Jenn,
I totally agree! When I first got it I was searching for recipes and all I found were shortcuts to making treats that didn’t have the best ingredients. This really can make the best healthier frozen treat alternatives if you use the right ingredients!