
Getting a pedicure is one of the most relaxing things to do these days…as least in my opinion. I love pretty, manicured tootsies! But unfortunately I hardly go, if ever. After all the scary reports of fungus, infections, and the smell alone in nail salons, I’ve chosen to forgo my little pampering. Yeah, those foot basins you soak your feet in are harboring tons of bacteria. Yuck! As a licensed nail technician, I know a thing or two when it comes to nail hygiene. The basins that most nail salons use cannot be appropriately cleaned, no matter how hard they try. I worked at one salon as a nail technician, and esthetician and it was the only place I would get a pedicure or manicure..even to to this day. Instead of the chair/basin combo, we used a small bowl that was filled with fresh clean water each time. We would then autoclave the bowl, which is medical grade sanitation. Yes, you heard me right, that sucker wasn’t coming out with any last bit of grime on it! As well as the bowls being autoclaved, all the implements were as well after each use. Not to mention, they use toxin free nail polish, lotions, and nail polish removers. It’s a magical little place. If you’re ever in Seattle you must go. It’s called Julep and you won’t be disappointed.
As much as l love going to Julep, I don’t love the prices! I mean, I get it, you pay for what you get. Do I want a shady $20 pedicure or peace of mind, I’m not getting a fungus $48 pedicure? I’ll take the $48, thank you! But just not every month.
Thus, the DIY Pedicure. Now I get it, some of you are just not going to give yourself a pedicure, and you aren’t going to pay the $50 bucks for a toxic free one either. So this is what I suggest- Bring your own tools, from toxic free polish, implements (nail clippers, pushers etc.), to foot file. Even bring your own stainless steel bowl, and just have them add water. I know it might sound tedious but do you really want to risk it?!
Now for all you DIY peeps, here’s my recipe for the perfect pedicure…you may even wonder why you hadn’t started doing it a long time ago!
What You’ll Need:
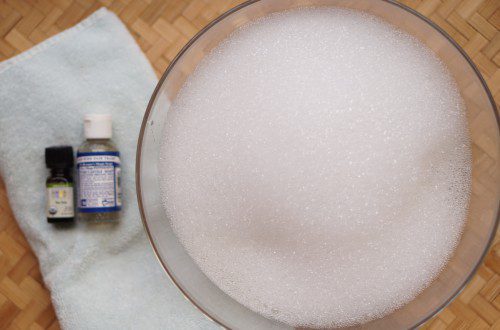
- Bowl for Soaking Feet
- Body Wash or Foot Soak of Some Kind
- Essential Oils for Foot Soak (optional) I like Tea Tree Because It’s Naturally Anti-Fungal
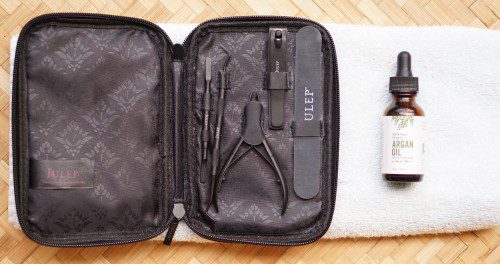
- Implements- nail clipper, cuticle pusher, trimmer, file (Julep makes a great set)
- Argan oil (or any oil will work)
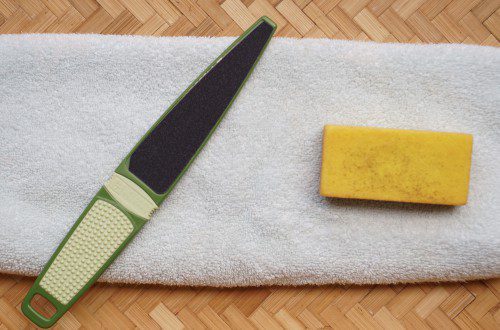
- Foot File
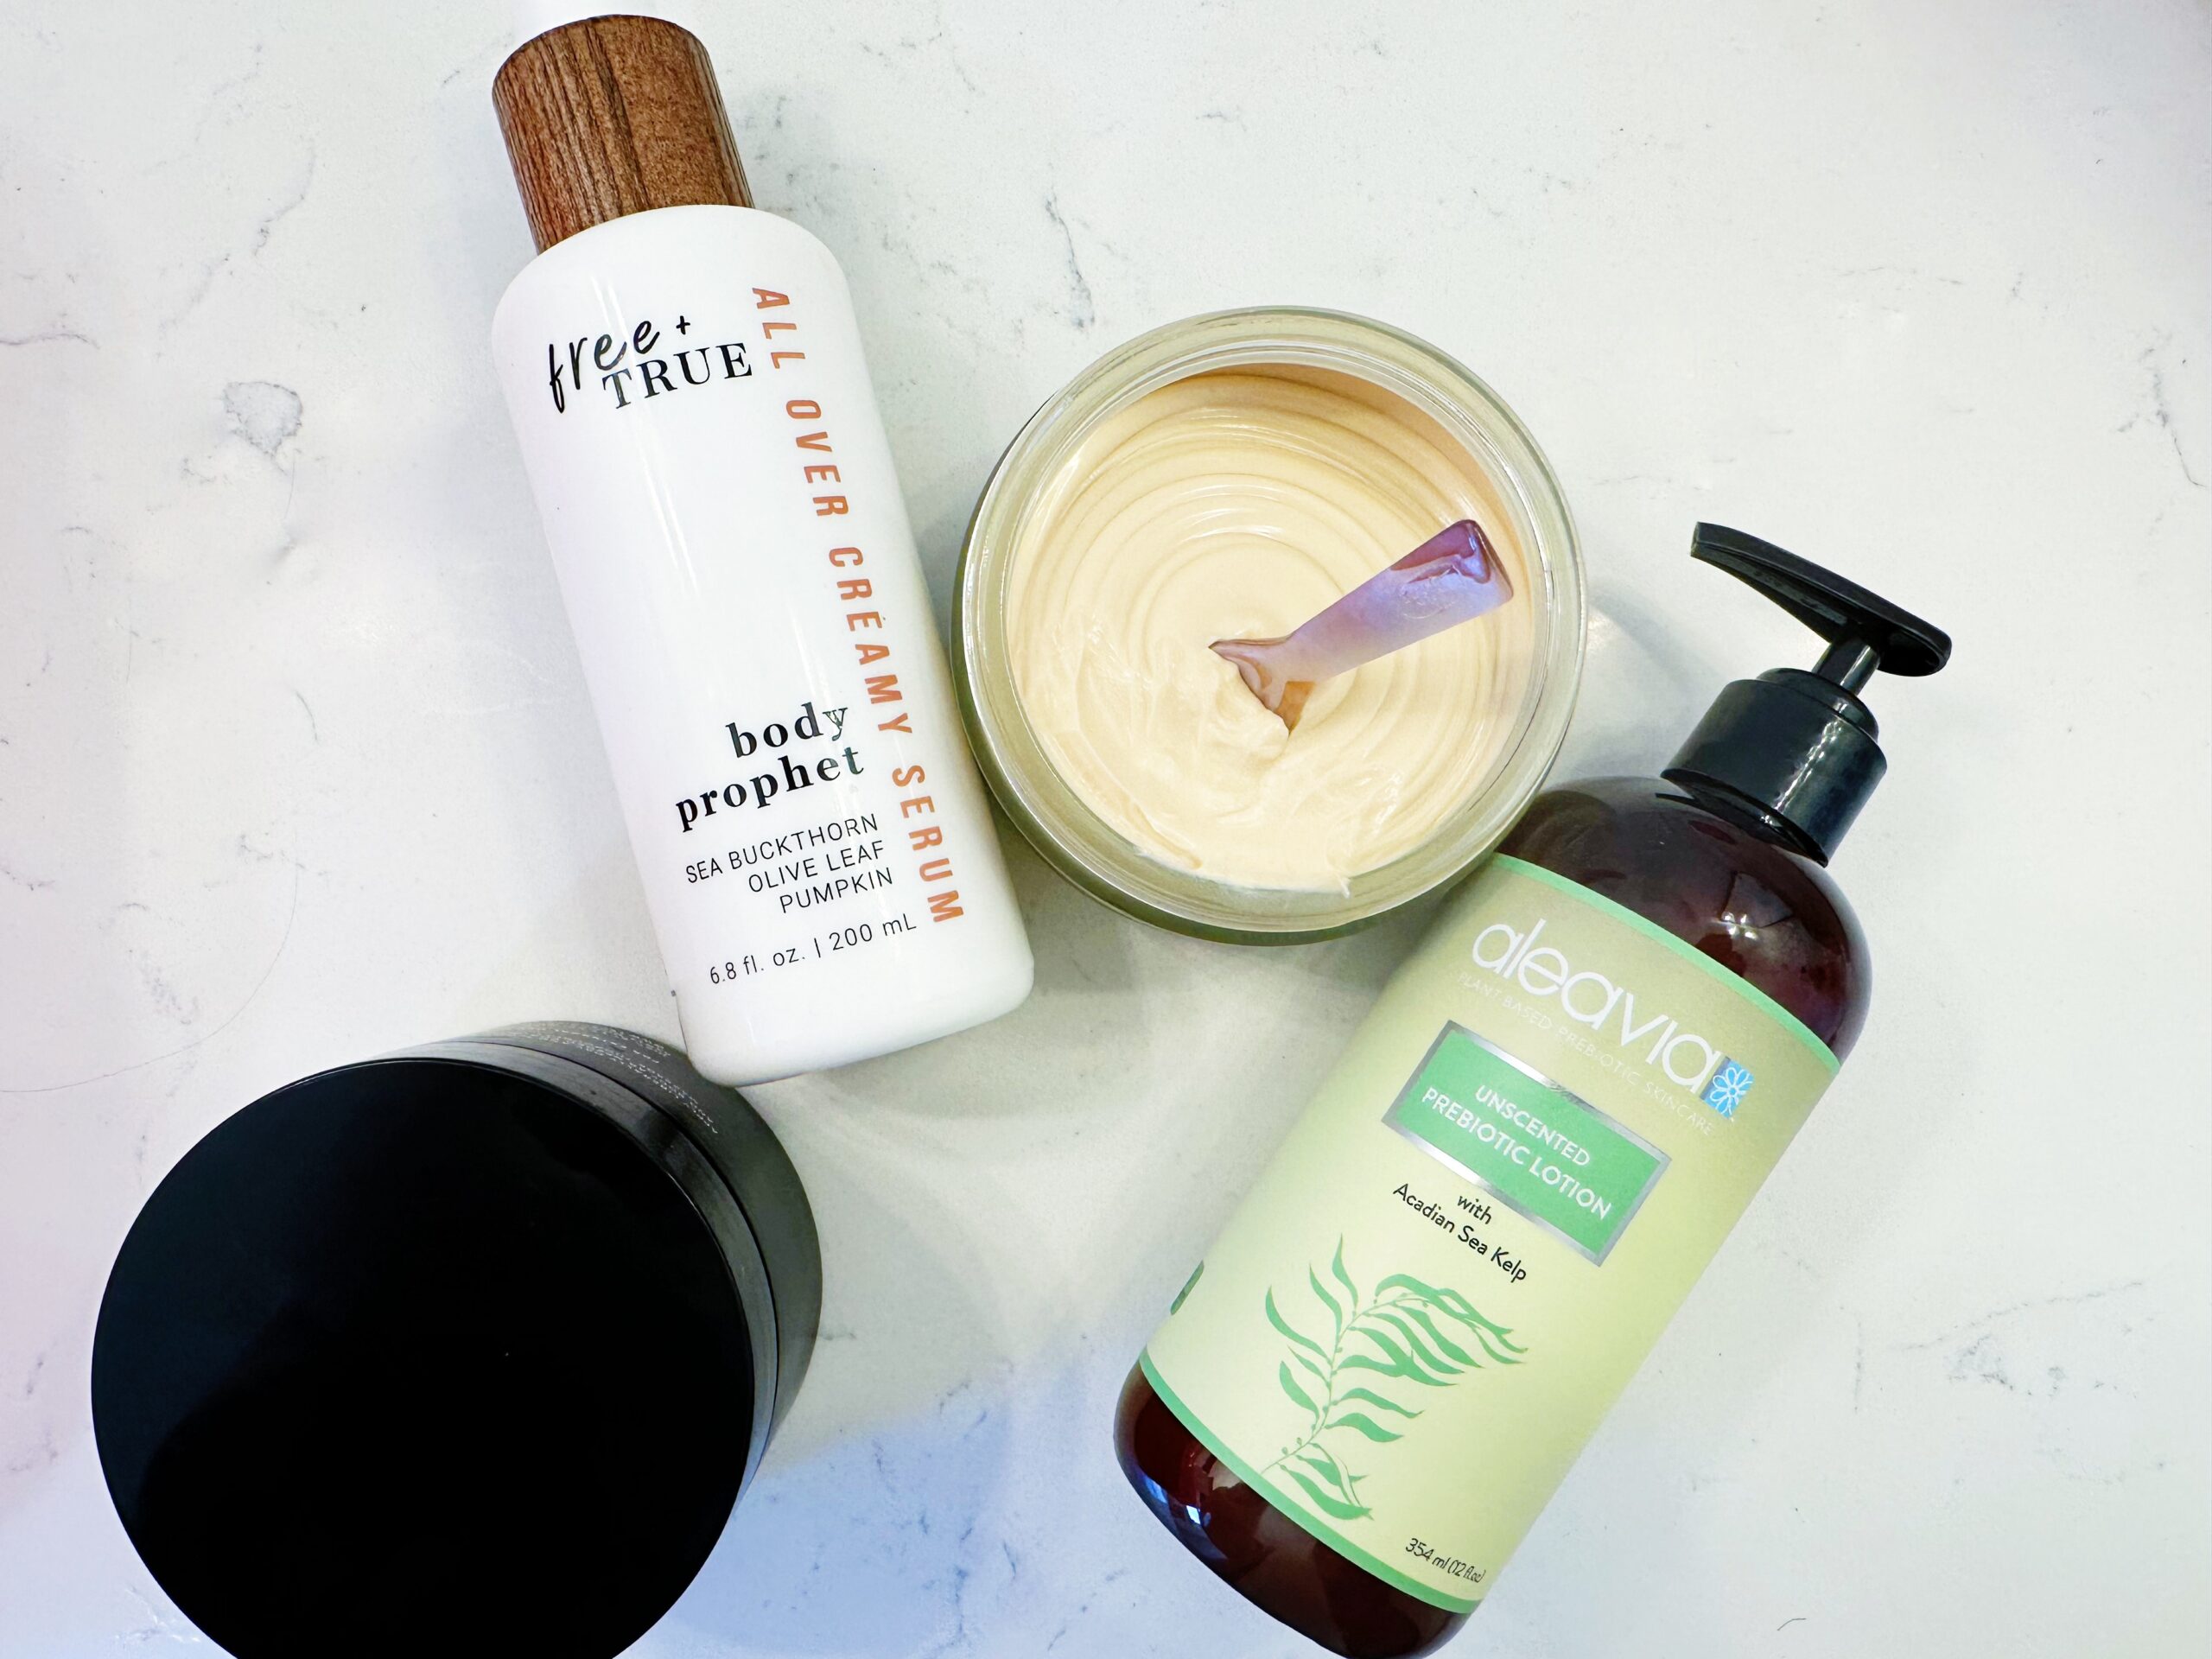
- Sugar or Salt Scrub (you can make your own but I love Kosmatology’s toxic free salt scrub)
- Foot Cream or Lotion (Love Kosmatology’s toxic free stick)
- Pumice Block
- 2 Hand Towels
- Nail Polish Remover (I love Priti NYC non-toxic remover)
- Cotton Rounds
- Nail Polish (I love Kure Bazzarr)
- Toe dividers
- Optional-Some chill music and candles 🙂
Step 1-
Fill a glass or stainless steel bowl with warm water while adding body wash or foot soak. This creates some good suds. Add the essential oil. (Optional) Soak feet for 10- 15 minutes.
Step 2-
Remove feet from water and add the oil of your choice to the cuticle. As the cuticle softens, clip and file nails. Then go back and push back cuticle and trim the excess.
Step 3-
File your heels or any calloused area. Once done dip your pumice stone in the soapy water, and give the bottoms of your feet a good scrub.
Step 4-
Grab your sugar or salt scrub, and give each foot a good rub down with it. Then rinse off the scrub in the soapy water.

Step 5-
Here’s where I grab my other clean towel, and dry off my feet. Then lather them up with some lotion or cream. You can even give yourself a little foot rub here!

Step 6-
Finally get rid of any excess oil on nail beds with nail polish remover. Now it’s time to paint! If you need toe dividers, now’s the time to put them on…I never use them. Grab the nail polish and get to it. I do one foot and then the next and then repeat with the first foot again. Ending with two coats.

There you have it, my DIY toxic free pedicure. Would love to hear what your go to color for nail polish is? Leave me a comment!


How about giving your feet little more pampering with Pedicure At home http://360completeliving.com/who-else-wants-to-know…/